Do you want to keep your AWS workloads secure? 🔐
If so, you need to know what software components are running on your workloads. This is where software bills of materials (SBOMs) come in. SBOMs are a comprehensive list of the software components used in a software application. They can be used to track the provenance of software, identify security vulnerabilities, and comply with security regulations.
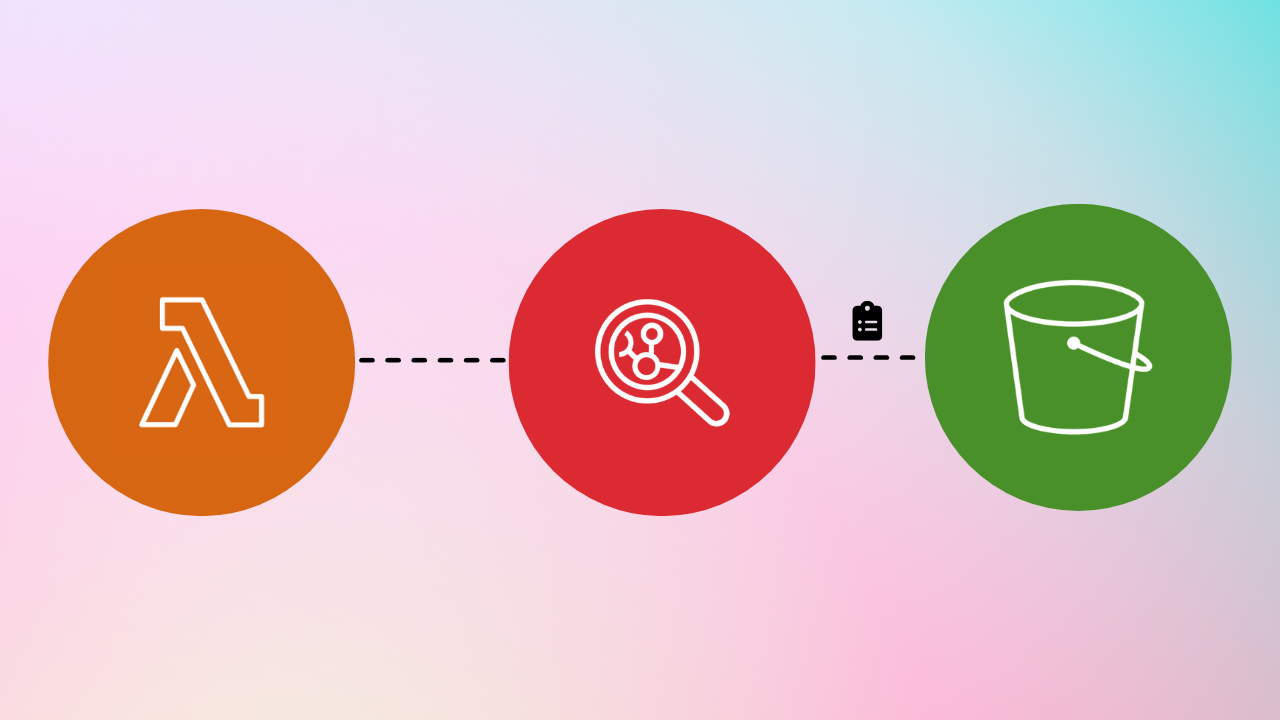
In this blog article, we will explore how to use Amazon Inspector and Lambda to create scheduled SBOMs. This will allow you to generate SBOMs for your workloads regularly. Afterward, you can incorporate analytics 📊 and alerting ⏰.

If you want to understand SBOMs in detail, check out my article:

Prerequisites 🏗️
Ensure you have the Inspector agent installed on all workloads, which are in scope for SBOM creation. Check out my article for a detailed tutorial:

Create KMS key 🔑
First, you need to create a new KMS key and allow Inspector to use it. Inspector will use this key to encrypt the data. Make sure you create a customer-managed key.

{
   "Sid":"Allow Amazon Inspector",
   "Effect":"Allow",
   "Principal":{
      "Service":"inspector2.<region>.amazonaws.com"
   },
   "Action":[
      "kms:Decrypt",
      "kms:GenerateDataKey*"
   ],
   "Resource":"*",
   "Condition":{
      "StringEquals":{
         "aws:SourceAccount":"<accountID>"
      },
      "ArnLike":{
         "aws:SourceArn":"arn:aws:inspector2:<region>:<accountID>:report/*"
      }
   }
}Create S3 Bucket and adjust bucket policy 🗄️
You want to store your SBOM in a S3 bucket. To do this, you need to create a new bucket and adjust the bucket policy. In the newly created bucket, you need to go to permissions and then click on edit bucket policy. Make sure the allow-inspector section is available in the policy and adjust it based on your settings.

{
	"Version": "2012-10-17",
	"Statement": [
		{
			"Sid": "ForceSSLOnlyAccess",
			"Effect": "Deny",
			"Principal": {
				"AWS": "*"
			},
			"Action": "s3:*",
			"Resource": [
				"arn:aws:s3:::<bucketName>",
				"arn:aws:s3:::<bucketName>/*"
			],
			"Condition": {
				"Bool": {
					"aws:SecureTransport": "false"
				}
			}
		},
		{
			"Sid": "allow-inspector",
			"Effect": "Allow",
			"Principal": {
				"Service": "inspector2.<region>.amazonaws.com"
			},
			"Action": [
				"s3:PutObject",
				"s3:PutObjectAcl",
				"s3:AbortMultipartUpload"
			],
			"Resource": "arn:aws:s3:::<bucketName>/*",
			"Condition": {
				"StringEquals": {
					"aws:SourceAccount": "<accountID>"
				},
				"ArnLike": {
					"aws:SourceArn": "arn:aws:inspector2:<region>:<accountID>:report/*"
				}
			}
		}
	]
}Create Lambda function ⚡️
Now we have covered the prerequisites and can move to the fun part. Let's develop the Lambda function. You need to create a new Python function and add the following code:

import json
import boto3
client = boto3.client('inspector2')

def lambda_handler(event, context):
    response = client.create_sbom_export(
        reportFormat='CYCLONEDX_1_4',
        resourceFilterCriteria={
            'ec2InstanceTags': [
                {
                    'comparison': 'EQUALS',
                    'key': 'Criticality',
                    'value': event['Criticality']
                },
            ]
        },
        s3Destination={
            'bucketName': '<bucketName>',
            'kmsKeyArn': 'arn:aws:km:<region>:<accountID>:key/<keyID>'
        }
    )

    return {
        'statusCode': 200,
        'body': json.dumps(response)
    }
We are first choosing the reportFormat. This can be either CYCLONEDX_1_4 or SPDX_2_3. To filter certain instances, we will check the Criticality tag of the instances. Later we can create different schedules for the criticality of the asset. In the last step, we define our s3Destination and need to choose the KMS key we created earlier.
In the permission configuration of your Lambda role, ensure that you allow the inspector2:CreateSbomExport action:
{
   "Sid":"Allow Lambda to create SBOM",
   "Effect":"Allow",
   "Action":[
      "inspector2:CreateSbomExport"
   ],
   "Resource":[
      "*"
   ]
}
Configure Amazon EventBridge Scheduler 🔄
Amazon EventBridge Scheduler is a serverless scheduler that allows you to create, run, and manage tasks from one central, managed service. It is a great way to automate tasks that need to be performed regularly.
To use Amazon EventBridge Scheduler, you first need to create a schedule. A schedule defines the time and frequency at which a task should be run. In your case, I would recommend for example every 7 days.


You can also specify a target for the task. Here you need to choose Lambda and choose your function.

During the invocation of the function, you can also configure a payload. In the Lambda function, we are checking the variable event['Criticality'] which you can define here. Now we can create different schedulers for the different criticality levels of our assets. You could for example check all critical assets daily and non-critical ones every week.

The Advantages of Scheduled SBOMs 💡
Embracing the synergy of Inspector and Lambda to create Scheduled SBOMs presents benefits to your cybersecurity strategy:
- Continuous Compliance: By automating the SBOM generation process, you ensure consistent compliance with security best practices.
- Resource Efficiency: AWS Lambda's serverless architecture ensures efficient utilization of resources, optimizing costs while maintaining security standards.
- Analytics: You can analyze your SBOM exports and create compliance dashboards with Amazon QuickSight or Amazon Athena.
In Conclusion 🎓
Inspector and Lambda provide an innovative, automated solution to enhance your defense against potential vulnerabilities. By following the steps outlined in this guide, you'll be on your way to creating scheduled SBOMs that bring visibility to your application ecosystem. Take charge of your cybersecurity journey today and ensure your digital assets remain secure tomorrow. 🔐






Member discussion