


Introduction
Imagine you’re responsible for securing an AWS environment with dozens or even hundreds of accounts. Each account has its own users, permissions, and workloads. One day, you find out that a compromised IAM key in a sandbox account was used to exfiltrate data from an S3 bucket.
The problem?
❌ That account had no GuardDuty enabled - so you never got an alert.
❌ You only found out after the damage was done.
This is exactly why centralized GuardDuty management is critical. Instead of manually enabling GuardDuty for each account, AWS provides a way to automatically monitor security threats across your entire organization.
In this guide, we’ll set up AWS GuardDuty centrally so that every account in your AWS Organization is protected without manual intervention.
Step 1: Enable GuardDuty for AWS Organizations
Before we do anything, we need to allow AWS GuardDuty to integrate with AWS Organizations. This step must be performed in the management account of your organization.
Run this AWS CLI command:
~ $ aws organizations enable-aws-service-access --service-principal guardduty.amazonaws.com
At this point, AWS GuardDuty gains the necessary permissions to manage security across all AWS accounts in your organization. By enabling this service access, you allow GuardDuty to function centrally rather than being configured manually for each account.
To confirm that GuardDuty has been granted access, you can check the list of enabled services with:
~ $ aws organizations list-aws-service-access-for-organization
{
    "EnabledServicePrincipals": [
        {
            "ServicePrincipal": "guardduty.amazonaws.com",
            "DateEnabled": "2025-03-21T22:28:11.629000+00:00"
        }
    ]
}
If guardduty.amazonaws.com appears in the response, GuardDuty now has the necessary permissions and is ready to be configured.
Step 2: Appoint a GuardDuty administrator (Delegate Account)
Now, you need to designate an account as the central security administrator for GuardDuty. AWS requires one account to act as the GuardDuty administrator, where all security findings will be collected.
Typically, organizations use a Security Tooling account for this purpose - a dedicated account that manages security services across all AWS accounts.
To set this up, run the following command in the management account:
~ $ aws guardduty enable-organization-admin-account --admin-account-id 123456789012By running this command, you specify that the Security Tooling account will now serve as the central location for all GuardDuty alerts and findings. Instead of having GuardDuty findings scattered across multiple accounts, this setup ensures that security teams have a single, consolidated view of all threats.
Step 3: Auto-Enroll All Accounts in GuardDuty
With the administrator account set up, the next step is to ensure that all AWS accounts in your organization are automatically enrolled in GuardDuty.
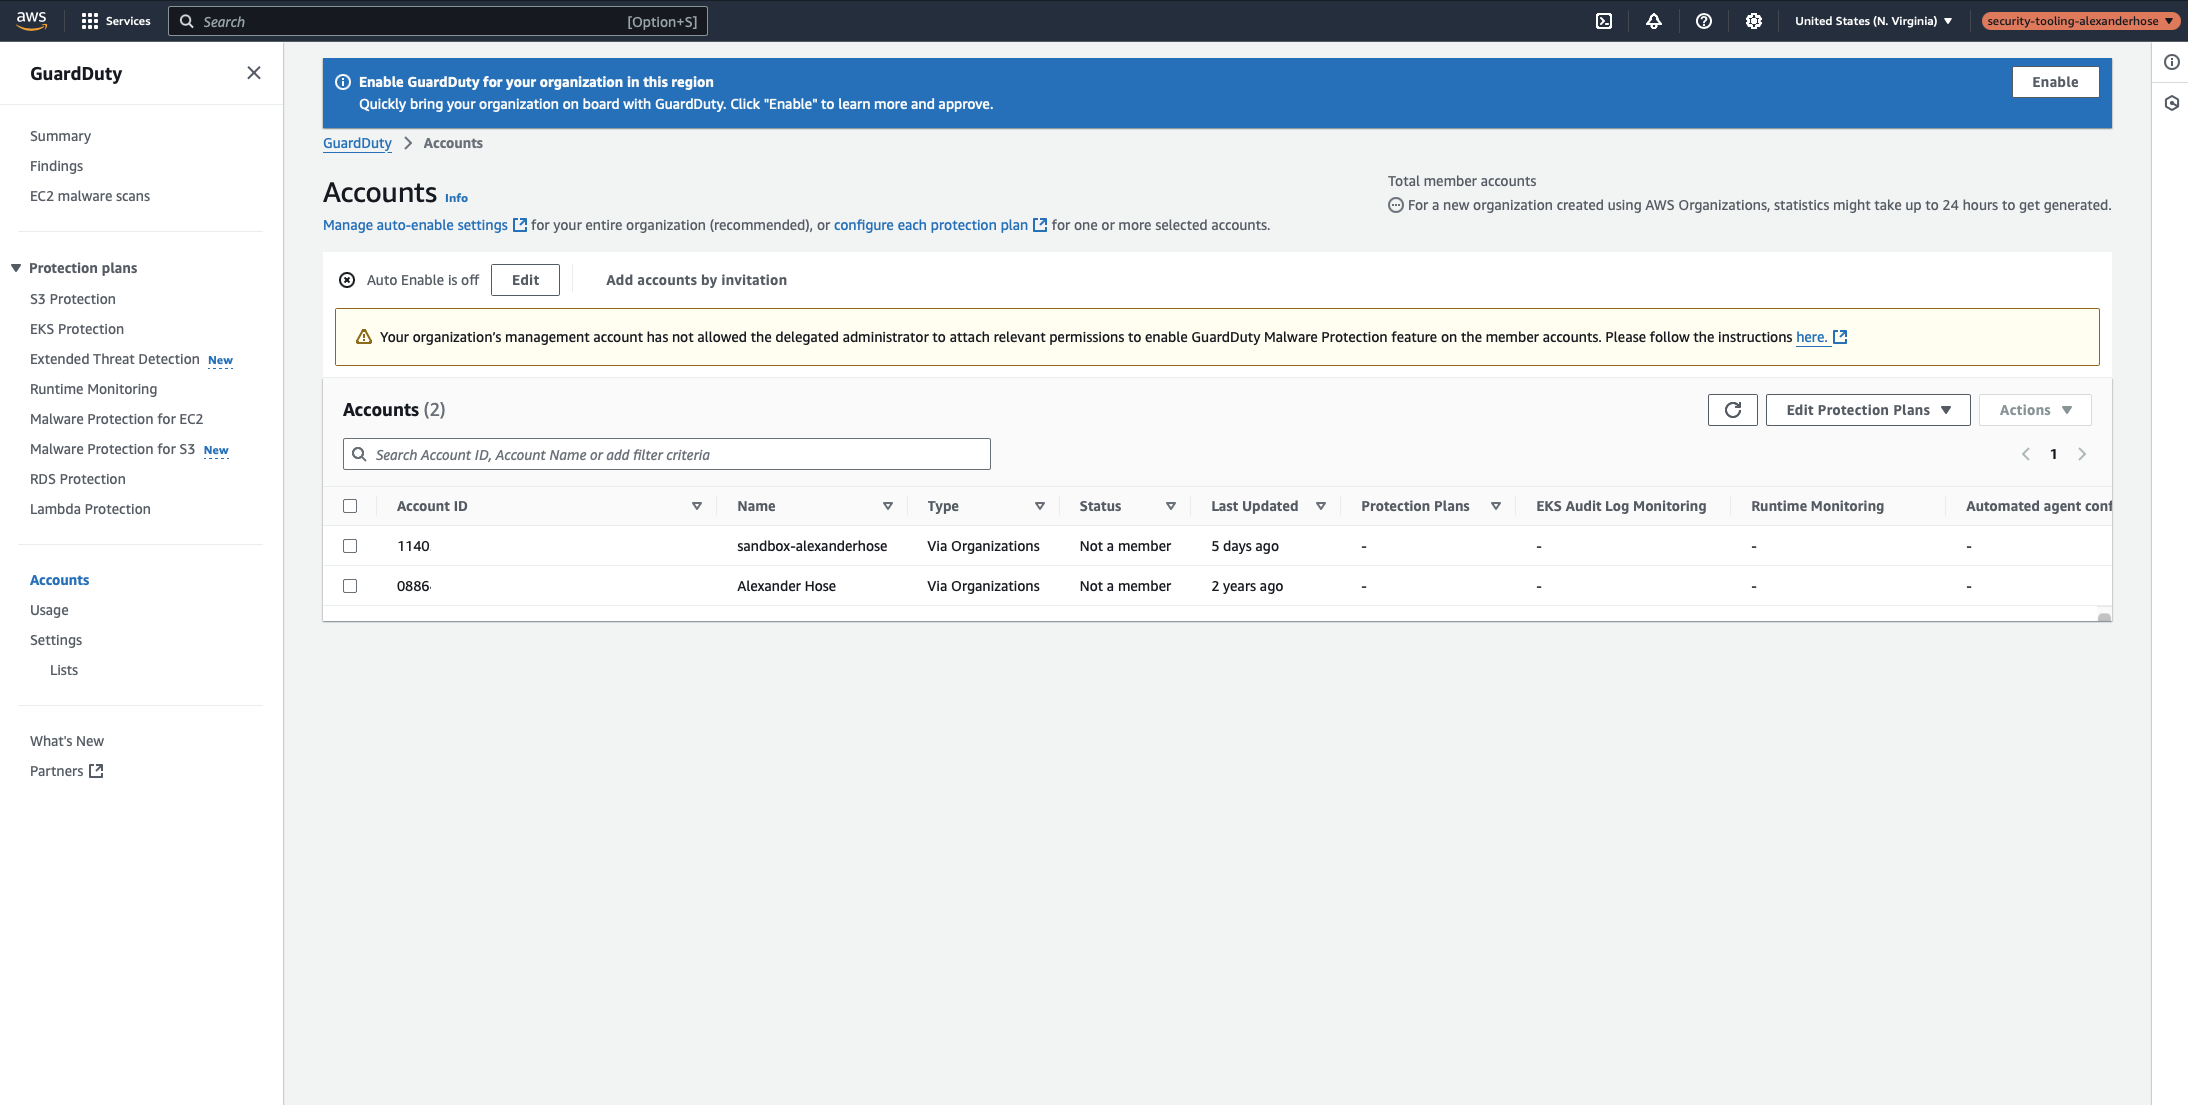
Switch to the Security Tooling account, then run:
~ $ aws guardduty update-organization-configuration --detector-id 12abc34d567e8fa901bc2d34e56789f0 --auto-enable-organization-members=ALLThis command enables GuardDuty across all existing accounts in the AWS Organization. Additionally, it ensures that any newly created AWS accounts will automatically be added to GuardDuty without requiring manual configuration. This step eliminates the risk of forgetting to enable GuardDuty in a new account, ensuring continuous security coverage across your organization.
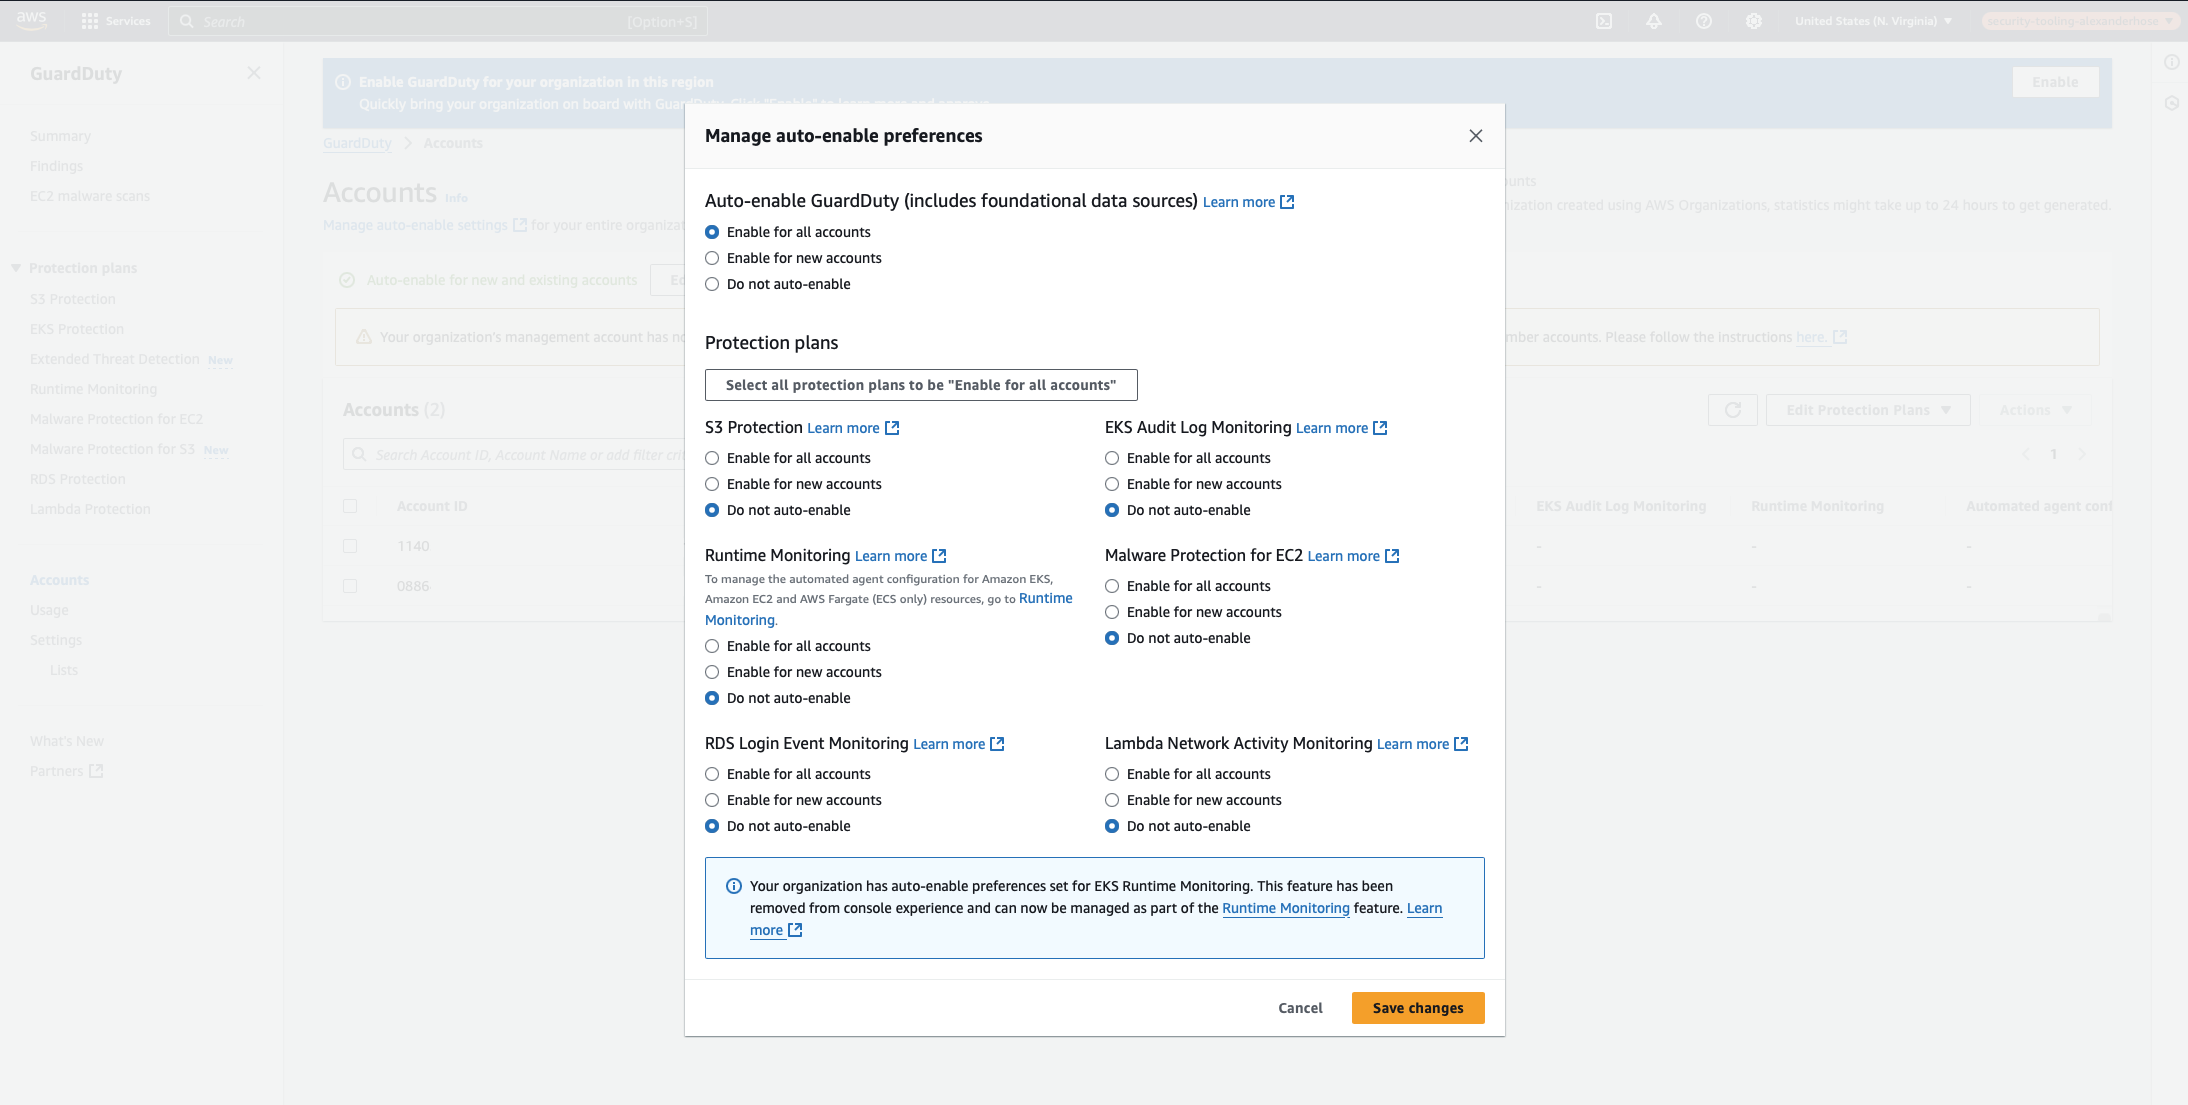
Step 4: Fine-Tune What GuardDuty Detects
GuardDuty offers various security detection features, but not all of them are enabled by default. By default, only standard GuardDuty protection is turned on. You can choose to enable additional features such as S3 Protection, Kubernetes Protection, or Malware Protection.
Step 5: Confirm Everything is Working
Before assuming that everything is configured correctly, it’s important to verify that GuardDuty is monitoring all AWS accounts in the organization.
To check if all accounts have been added to GuardDuty, run the following command in the Security Tooling account or use the UI:
~ $ aws guardduty list-members --detector-id 12abc34d567e8fa901bc2d34e56789f0
{
    "Members": [
        {
            "AccountId": "987654321000",
            "DetectorId": "f1e2d3c4b5a67890abcdef1234567890",
            "MasterId": "111222333444",
            "RelationshipStatus": "Enabled",
            "UpdatedAt": "2025-03-22T00:31:51.728Z",
            "AdministratorId": "111222333444"
        },
        {
            "AccountId": "987654321001",
            "DetectorId": "0a9b8c7d6e5f4321abcdef9876543210",
            "MasterId": "111222333444",
            "RelationshipStatus": "Enabled",
            "UpdatedAt": "2025-03-22T00:31:51.728Z",
            "AdministratorId": "111222333444"
        }
    ]
}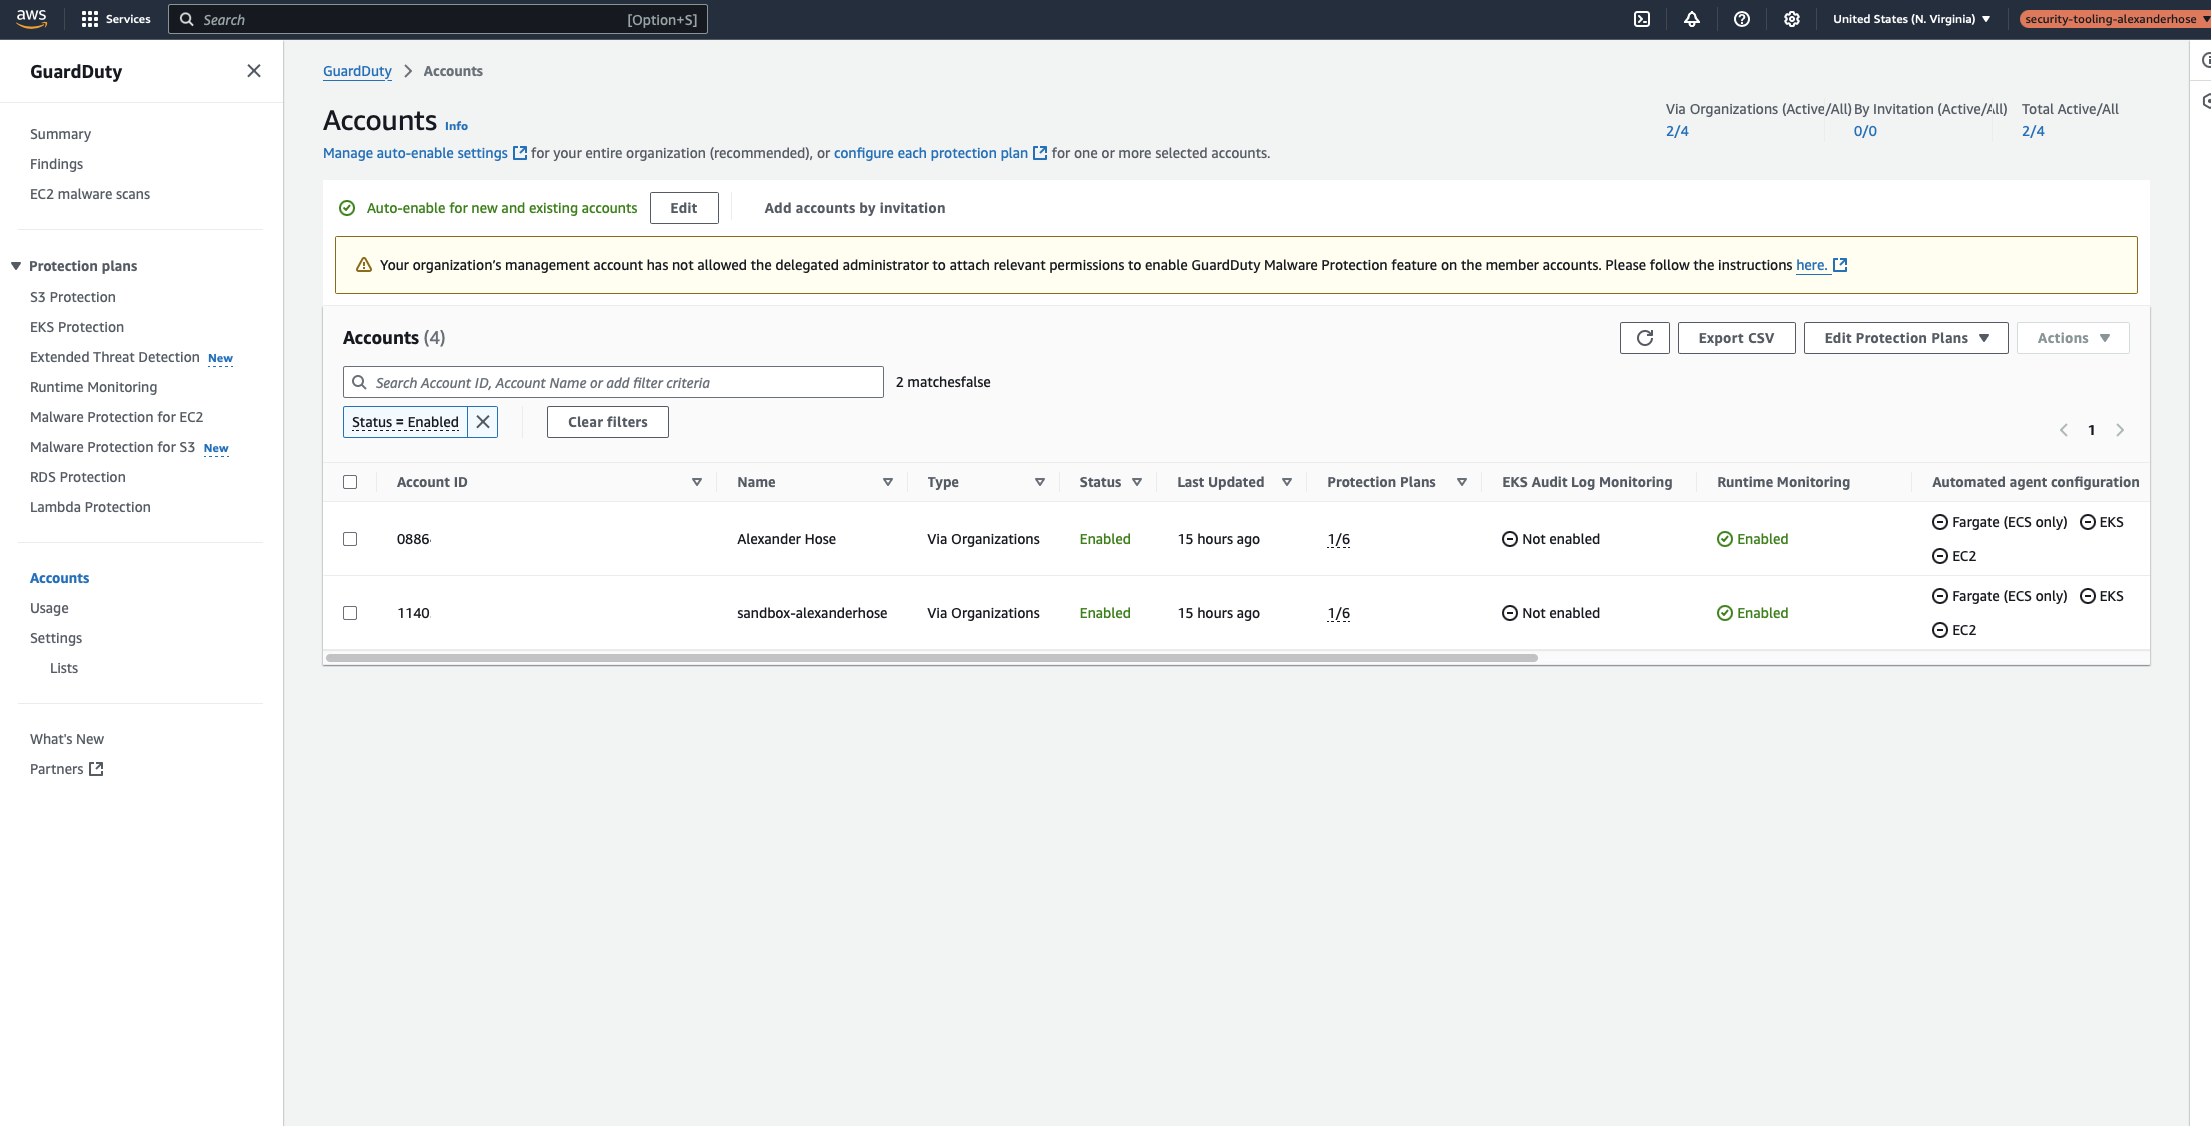
If the output lists all accounts in your organization, this confirms that GuardDuty has successfully enrolled all member accounts and is actively monitoring security threats. Suspended accounts may not be shown.
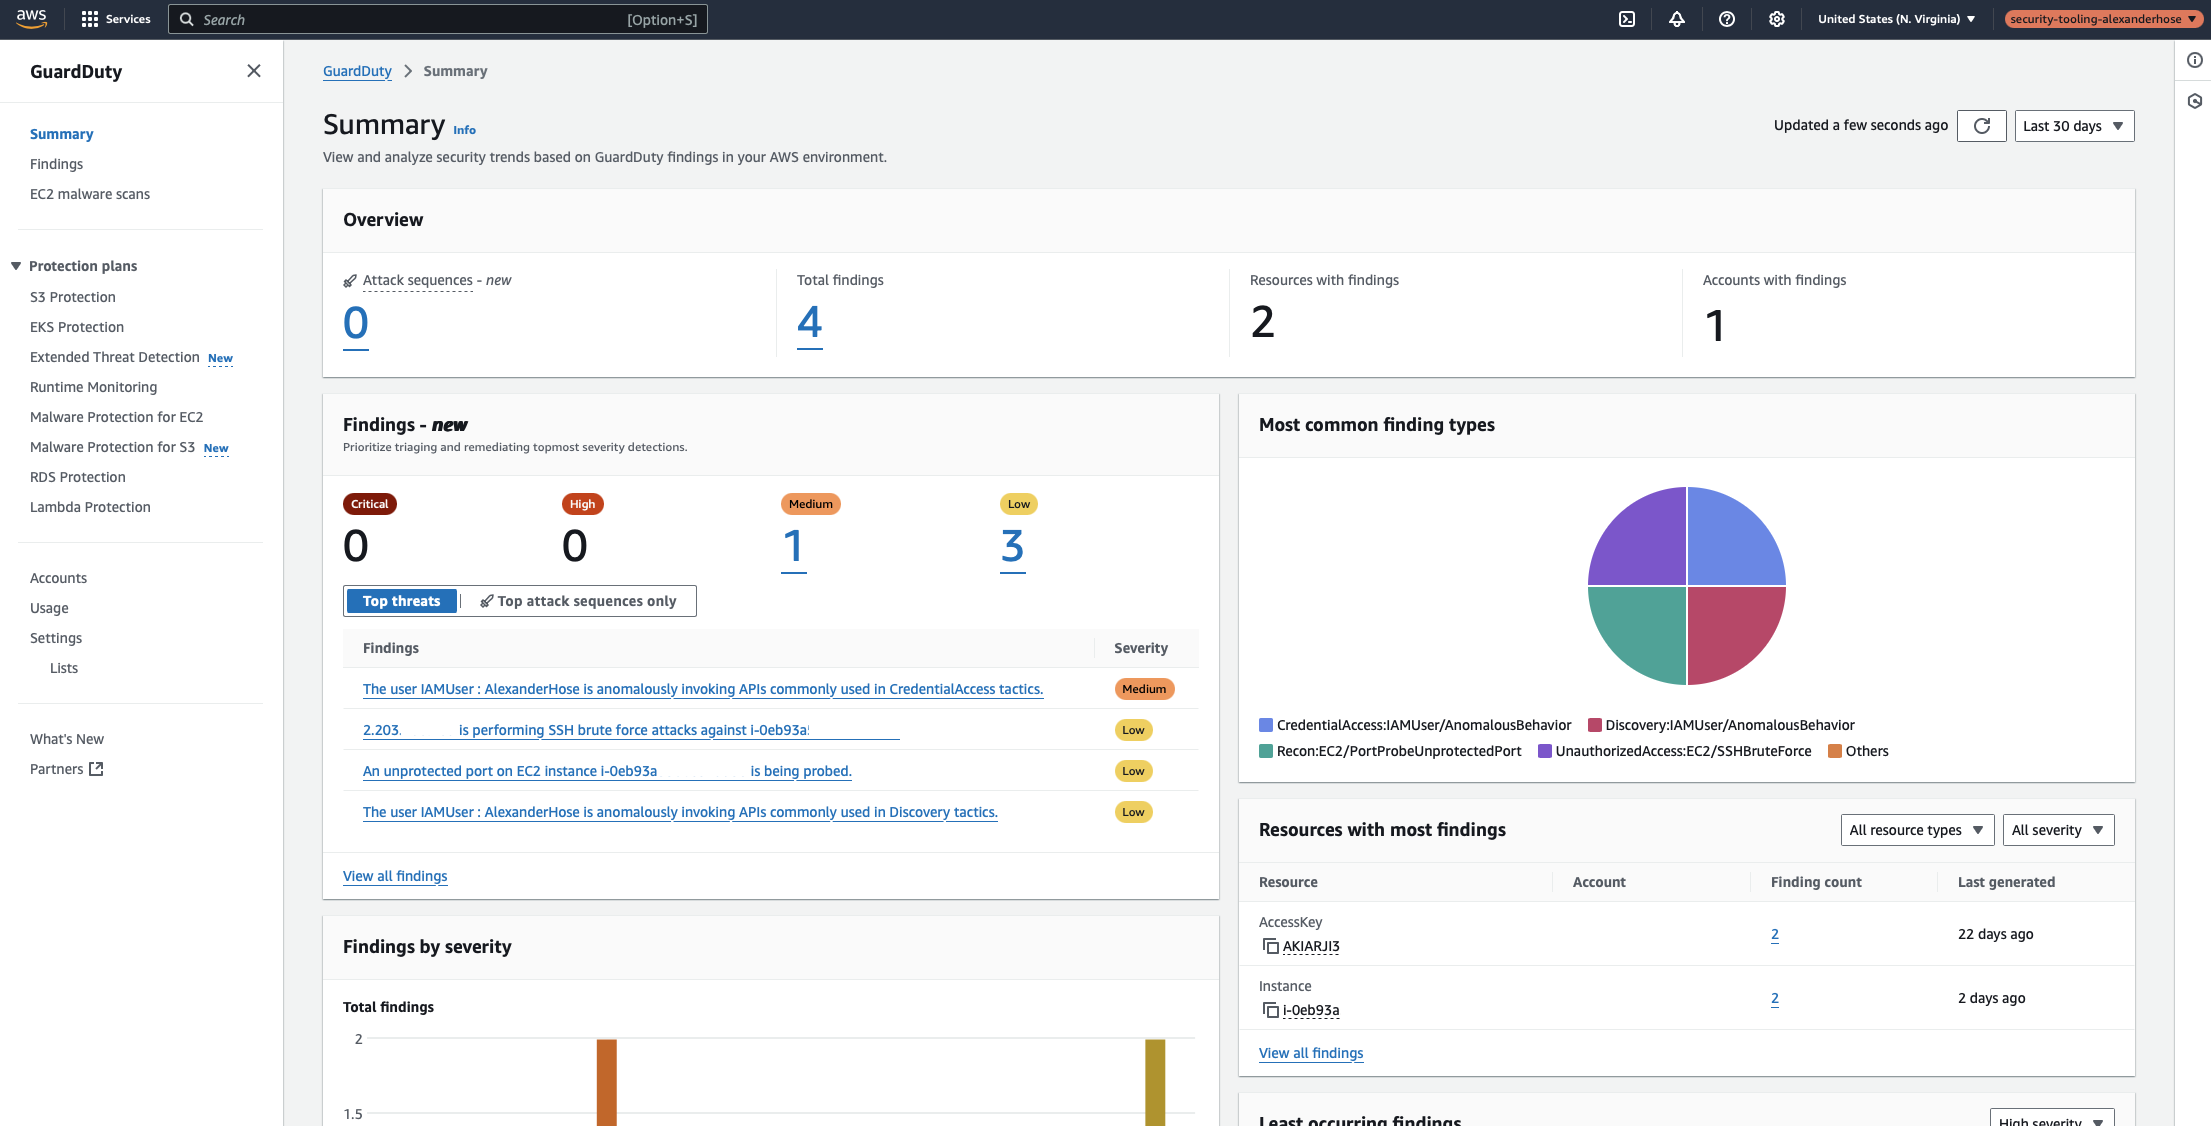
Step 6: Reviewing GuardDuty Findings in the Central Dashboard
Now that GuardDuty is enabled across all member accounts, we can verify that everything is working as expected by reviewing the findings in the central dashboard.
GuardDuty continuously analyzes activity within AWS accounts and detects potential threats based on anomaly detection, threat intelligence, and machine learning models.
Setting up GuardDuty across all accounts is just the first step. To make the most out of it, you need to centralize logging and alerts to detect and respond to threats effectively.
Sending GuardDuty Events to CloudWatch
By default, GuardDuty findings are stored in AWS, but to enable real-time monitoring, you should forward them to CloudWatch Logs. This allows you to create custom alerts and automate responses.
I’ve written a detailed guide on how to achieve this:
 Alexander Hose
Managing GuardDuty Alerts in OpenSearch SIEM
If you're looking for a more advanced security monitoring solution, you can integrate GuardDuty findings with OpenSearch SIEM. This enables custom dashboards, and correlation rules to detect sophisticated attack patterns across your AWS environment.
For a step-by-step guide, check out this article:
Alexander Hose


Member discussion